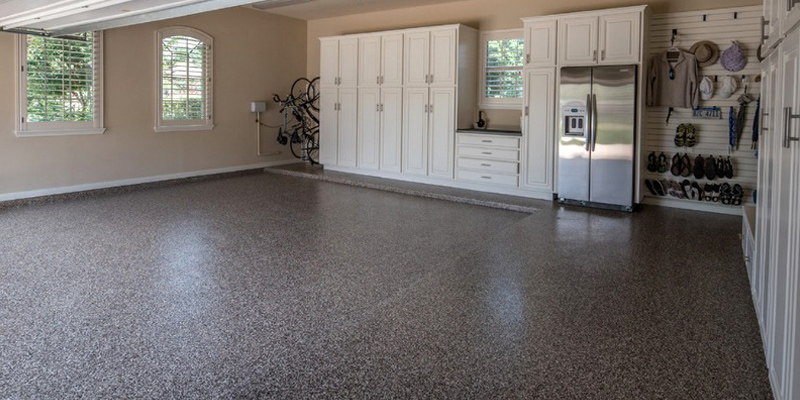
Why should I paint my concrete garage floor?
One of the biggest benefits when you paint a concrete garage floor is the look that it provides. Painting the floor can completely change the look of your concrete. Another benefit is that paint will help seal the floor and make it non-porous; otherwise, spilled liquids can seep into concrete and permanently stain it. It will not be as dusty as when you have regular concrete. It should be easier to clean once you coat it with paint. When you spill something on the concrete, you should be able to wipe it up with a rag. Paint is also one of the more economical choices for garage floor covering.
If you need to repair a concrete garage floor with cracks, the process can be done relatively quickly and easily. Repairing cracks can make a big difference in the overall appearance of your concrete garage floor. Here are the basics of how to repair a concrete garage floor effectively.
Step 1 – Clean the Crack
When you have a crack in a concrete floor, it will inevitably have a lot of dirt and residue inside of it. You need to clean it out as best you can before trying to repair it. Take a wire brush and use it to clean out the crack. This will help remove any loose material. Then take a shop vacuum and use it to suck up all of the small pieces of dirt in and around the crack.
Step 2 – Apply Bonding Adhesive
Before you can patch the crack, you need to apply bonding adhesive to it. Bonding adhesive is used to attach new concrete to old concrete without it cracking apart. Take a paint brush and use it to paint the bonding adhesive onto the crack. Make sure to cover the entire crack in and around the surface.
Step 3 – Mix the Patching Compound
Once you have applied the bonding adhesive to the surface of the crack, mix up the patching compound. Read the directions on the side of the bag that you have. You will need to mix water with the patching compound in a bucket. Then use a stirring rod or a trowel to stir up the compound.
Step 4 – Fill in the Crack
Once you have the patching compound mixed up, use it to fill in the crack in the concrete. You need to make sure that you apply the concrete patching compound to the crack while the bonding adhesive is still tacky. If it is completely dry when you apply the compound, it will not do its job effectively. Take a trowel and use it to apply some of the patching compound to the surface of the crack. Fill in the crack as well as you can. Use the trowel to spread the patching compound around the area.
Step 5 – Smooth it Out
After you have the crack completely filled with patching compound, use the trowel to flatten it out. Run the trowel along the edge of the crack slowly and evenly. Make sure that the patching compound is completely smooth once you are done.
Step 6 – Dry
Once you have applied the patching compound to the crack, you need to allow it plenty of time to dry. This product will typically appear to be dry within a few hours. You should most likely avoid walking on it for several days as the moisture inside of it is curing out.


Recent Comments