How to Tile a Kitchen Floor
Porcelain or ceramic tile is commonly used as kitchen flooring because of its durability and attractive appearance. The price of installing kitchen tile, however, is often expensive and doing it yourself can seem daunting at first glance. Fortunately, tiling a kitchen is not as hard as it sounds and can be accomplished by following this simple guide.
Step 1 – Subfloor Prep
It’s very important that the subfloor is secure enough to support the tile and the people walking across it. The tile should not flex under additional weight as this can damage the grout over time and lead to water damage. You can strengthen the floor by using a backer board, such as vinyl or heavy felt. Once the floor is sufficiently secure, clean it before you begin the tile installation.
Step 2 – Dry Fit
Find the center of the room by snapping a chalk line from the halfway point of each wall. The lines will cross at the center of the room, which is where you will lay down the first row of tile. Using a straightedge, place the tiles in a row covering at least half the room. Use a tile spacer for better accuracy. Lay the tile until you reach one of the walls. Adjust the center line if the final row is too small of a cut. Repeat the process with the other walls to get the best placement and look.
Step 3 – Mix Mortar
Follow the package instructions for mixing thinset mortar. Do not mix more than you can install within 30 minutes. A drill with a mixing bit can make this process a lot easier. The final consistency should be similar to mayonnaise and will need to rest for around 10 minutes before starting.
Step 4 – Apply Mortar
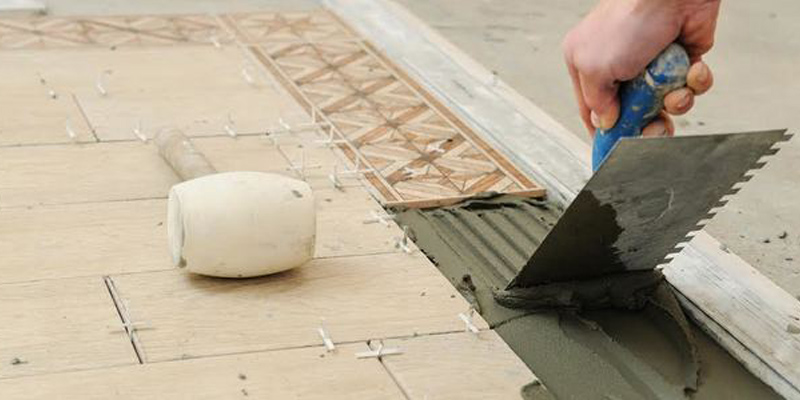
Begin by applying a thin layer of mortar to an area around two feet square at the center line. Avoid covering large areas at once as the mortar can get too dry. Using a trowel, spread the mortar in curved patterns until it is flat on the surface. Then use the trowel’s notched edge at a 45-degree angle to finish spreading the mortar into small ridges.
Step 5 – Setting Tile
Set down each tile along the center line, pushing down with a short twist until each piece is firmly in place. Use a consistent amount of pressure to keep each tile the same height as its neighbor. Continue this process until all of the full tile pieces are in place as these are the easiest to install. Periodically use a framing square to make sure everything is lining up correctly and keep an eye on all of your lines. Once you reach the edge of the floor, you will need to use a scoring knife to properly cut the final pieces.
Step 6 – Cutting Tile
After all the full pieces of tile have been laid, you will need to start cutting pieces for the outer edge. Taking accurate measurements is critical at this stage and cut one piece at a time until you are certain the size is correct. You can cut the pieces of tile with a hand tile cutter or a wet saw. Scoring the tile will make the cuts cleaner and more accurate.
Step 7 – Grouting
The final step in installing kitchen tile is placing the grout. Remove any spacers and excess mortar before laying down the grout. Using a grout float, apply the grout along the seams of the tile. Use a damp sponge to clean any excess grout, but only after it has dried for around 30 minutes. Once the grout work is done, return the following day and clean the surface with a damp sponge. Apply a sealer after the grout has fully dried. The drying process typically takes three to four days, depending on the type of grout and moisture conditions.


Recent Comments